
Setting up OSMC on your Raspberry Pi transforms this small device into a powerful media center capable of streaming various content types while offering excellent performance. This guide walks you through the installation process and highlights what makes OSMC special.
Getting Started with OSMC on Raspberry Pi
OSMC (Open Source Media Center) is a free media player based on Kodi that runs smoothly on Raspberry Pi. The setup process is straightforward and requires minimal technical knowledge, making it accessible to most users.
Essential hardware requirements
For optimal OSMC performance, use a Raspberry Pi 3 Model B or newer Raspberry Pi 4. You'll need a microSD card (16GB minimum recommended) formatted as FAT32, a display with HDMI input, and the official Raspberry Pi USB-C Power Supply (5.1V 3A output) for Pi 4 models. The Pi 4 includes built-in Bluetooth and WiFi, so no extra dongles are needed. While heatsinks aren't strictly necessary, they can help maintain performance during extended use.
Understanding what makes osmc stand out
OSMC distinguishes itself through its streamlined user interface and versatility. Unlike competitors, it supports various streaming services including Disney Plus (though not in 4K due to certification requirements). OSMC works seamlessly with network tuners like HDHomeRun for free-to-air TV viewing. A key advantage is its VPN tunneling capability, allowing you to secure all media streaming traffic. The platform also excels in external storage support, making it easy to connect an SSD or hard drive to expand your media library.
Downloading and installing osmc
OSMC (Open Source Media Center) transforms your Raspberry Pi into a powerful media center. This guide walks you through downloading and installing OSMC, setting up VPN connectivity, and connecting TV tuners for free-to-air television.
Step-by-step installation process
The OSMC installation process is straightforward and requires minimal technical knowledge. Start by gathering the necessary hardware: a Raspberry Pi (with the Pi 3 Model B recommended for optimal performance), a microSD card (minimum 16GB) formatted as FAT32, and a power supply. For Raspberry Pi 4 users, the official USB-C Power Supply with 5.1V 3A output provides sufficient power.
Begin by downloading the OSMC Installer from the official website. The installer is available for Windows, macOS, and Linux platforms. Launch the installer and follow these steps:
1. Select your Raspberry Pi model from the dropdown menu
2. Choose the latest OSMC version
3. Select your microSD card as the installation destination
4. Wait while the installer writes the OSMC image to your card
Once complete, insert the microSD card into your Raspberry Pi. Connect your Pi to a display and keyboard during the initial setup. Power on the device and OSMC will automatically start. The first-time setup wizard guides you through basic configuration including language selection, network setup, and timezone settings.
After completing the setup wizard, you'll have access to the OSMC interface. The default login credentials for SSH access are username 'osmc' and password 'osmc' if you need to manage your device remotely.
Troubleshooting common installation issues
Several issues might arise during OSMC installation. If your Raspberry Pi fails to boot, check that your microSD card is properly inserted and the image was correctly written. Verify your power supply meets the requirements for your Pi model—inadequate power can cause boot failures or system instability.
Network connectivity problems are common during setup. If you're using Wi-Fi, ensure your network credentials are entered correctly. For VPN users looking to tunnel connections, PPTP-VPN connections work well with OSMC. While PPTP provides weaker encryption, it delivers better performance for streaming media. To set up a PPTP connection, install the PPTP client through SSH and configure it with your VPN credentials.
When setting up TV functionality, users have several options. USB TV tuners compatible with DVB-T/T2 standards work well for free-to-air TV, but make sure your chosen tuner supports your regional standards. Many users prefer network tuners like HDHomeRun over USB dongles. HDHomeRun devices connect directly to your antenna and make TV signals available over your home network without occupying USB ports on your Pi.
For streaming services such as Disney Plus, compatibility exists but with limitations. Disney Plus works on OSMC/Kodi but not at 4K resolution due to certification requirements. External storage devices like SSDs connect easily to expand your media library storage.
The built-in Bluetooth functionality in Raspberry Pi 4 eliminates the need for external Bluetooth dongles, simplifying connectivity with remotes and other peripherals. OSMC's official remote offers good functionality and ships worldwide at reasonable rates.
Setting up your media center
Installing OSMC on your Raspberry Pi transforms it into a powerful media center capable of streaming content, playing local media, and even accessing free-to-air TV. OSMC, built on Kodi, offers a user-friendly interface while maintaining the flexibility of an open-source platform. The Raspberry Pi 3 Model B is recommended for optimal performance, though the Pi 4 provides enhanced capabilities.
To begin, you'll need a Raspberry Pi, a microSD card (16GB minimum recommended), and a computer to download and prepare the OSMC image. The OSMC installer is available for Windows, macOS, and Linux platforms, making it accessible regardless of your operating system.
When selecting hardware, consider your specific needs. For streaming media, the built-in Wi-Fi and Bluetooth on newer Raspberry Pi models eliminate the need for additional dongles. The official Raspberry Pi USB-C power supply (5.1V, 3A output) provides sufficient power for most media center applications.
First boot configuration options
After writing the OSMC image to your microSD card using the installer or software like Etcher, insert the card into your Raspberry Pi. Connect your Pi to a display and keyboard for the initial setup process.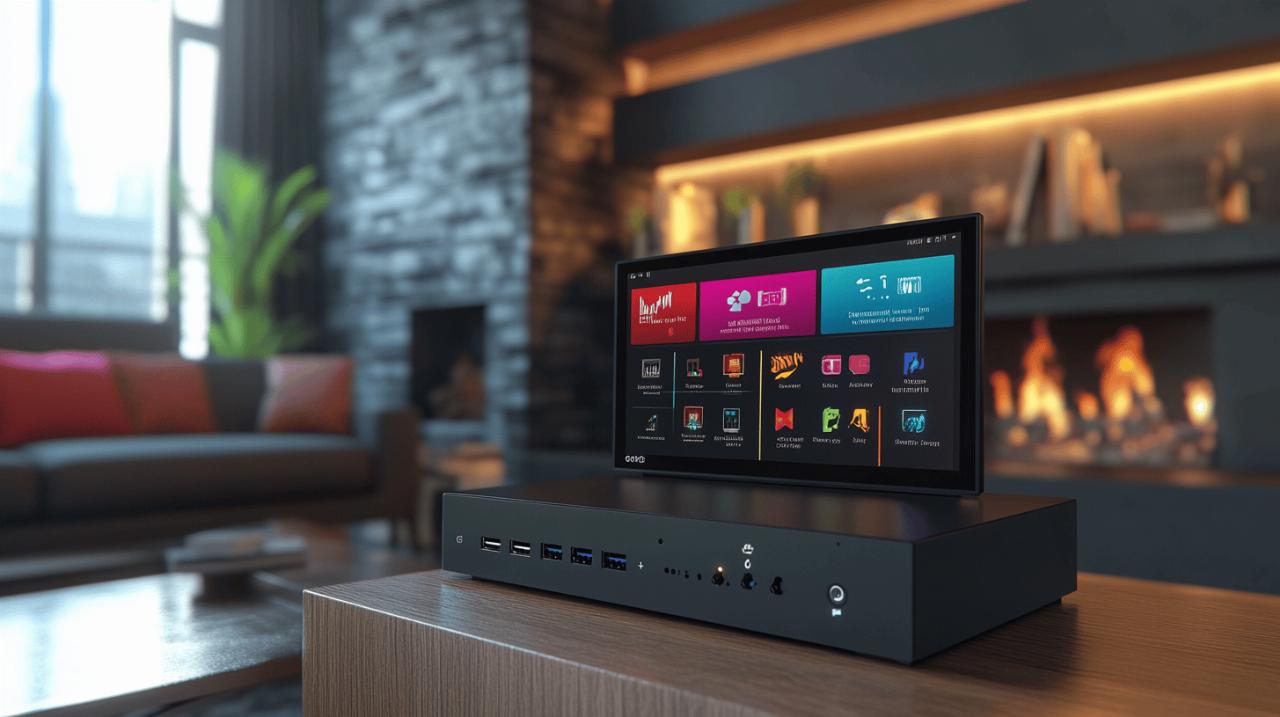
During first boot, OSMC will guide you through several configuration options. You'll need to select your language preferences, time zone, and give your device a name for network identification. The default username and password for SSH login are both 'osmc' – you may want to change these for security.
OSMC supports various streaming services, including Disney Plus (though not in 4K due to certification requirements). For those interested in VPN functionality, OSMC can be configured to tunnel all connections through a VPN server. PPTP-VPN connections work well for streaming media, though they offer weaker encryption than alternatives like OpenVPN.
Network setup and connectivity
OSMC offers flexible connectivity options for accessing media. You can connect to your network via Ethernet or Wi-Fi, with the latter being simple to configure during initial setup.
For TV enthusiasts, OSMC supports both USB TV tuners and network tuners like Silicon Dust HDHomeRun (HDHR). Network tuners offer advantages by making TV signals available to multiple devices on your network. The HDHR Flex models can connect to an antenna to receive DVB-T/T2 signals for free-to-air TV without requiring internet connectivity.
External storage options are straightforward with OSMC. You can connect USB drives formatted with common file systems to expand your media library. For the Raspberry Pi 4, connecting an external SSD provides faster performance than traditional hard drives or flash storage.
When setting up media sources, OSMC allows you to add local and network locations where your media is stored. The interface makes it easy to browse and play content from these sources, creating a seamless media center experience powered by your Raspberry Pi.
Customizing your osmc experience
OSMC transforms your Raspberry Pi into a versatile media center with endless customization options. After successfully installing OSMC on your device, you'll want to personalize it to suit your specific needs. The Raspberry Pi 3 Model B is generally recommended for optimal performance, but the Pi 4 also works exceptionally well with OSMC, giving you access to streaming services and free-to-air TV options.
Adding media sources and libraries
The first step in customizing your OSMC experience is adding your media sources. OSMC allows you to connect various storage options to access your media files. You can add external storage like an SSD drive to store and stream your video collection. Simply navigate to the 'Videos' or 'Music' section in the OSMC interface, select 'Add Source,' and browse to your connected storage device. OSMC supports various formats and organizes your media into libraries for easy access.
For TV enthusiasts, OSMC offers excellent integration with TV tuners. If you're looking to access free-to-air TV, you have several options. USB DVB-T/T2 tuners can be connected directly to your Raspberry Pi, though compatibility with regional standards (like Australian DVB-T/T2) should be verified before purchase. The OSMC store offers its own USB dongle, which needs to be connected to a TV antenna to receive signals.
Network tuners like Silicon Dust HDHomeRun (HDHR) are well-supported by OSMC. These devices connect to your antenna and make TV channels available over your home network. The HDHR Flex 4K model is particularly recommended, offering standalone functionality if you subscribe to their guide data service ($3/month). These tuners work without internet access unless your broadcasts use DRM protection.
Installing add-ons to enhance functionality
OSMC, being built on Kodi, gives you access to a vast ecosystem of add-ons that extend its capabilities. From the main menu, navigate to the Add-ons section to browse available options. You can install add-ons for streaming services, games, utilities, and more.
Many streaming services can be accessed through specific add-ons. While older posts might contain conflicting information, services like Disney Plus do work on OSMC/Kodi on Raspberry Pi 4, though not in 4K resolution due to certification requirements.
For enhanced privacy and access to geo-restricted content, you can set up VPN tunneling through OSMC. This involves installing a PPTP client and configuring it to connect to your preferred VPN server. While PPTP-VPN provides weaker encryption, it's generally sufficient for streaming media and offers better performance for FullHD streams compared to OpenVPN.
The OSMC remote control is a worthwhile accessory that provides convenient navigation through your media center. At just £1.49 for shipping to places like Australia, it offers good value for enhancing your user experience.
When setting up your Raspberry Pi 4 with OSMC, you'll be pleased to know it comes with built-in Bluetooth, eliminating the need for external Bluetooth dongles. The official Raspberry Pi USB-C Power Supply (5.1V, 3A) provides adequate power for most setups, even when connecting external devices like TV tuners.